Download
Step 1. Add the JitPack repository to your build file
Add it in your root settings.gradle at the end of repositories:
	dependencyResolutionManagement {
		repositoriesMode.set(RepositoriesMode.FAIL_ON_PROJECT_REPOS)
		repositories {
			mavenCentral()
			maven { url 'https://jitpack.io' }
		}
	}
Add it in your settings.gradle.kts at the end of repositories:
	dependencyResolutionManagement {
		repositoriesMode.set(RepositoriesMode.FAIL_ON_PROJECT_REPOS)
		repositories {
			mavenCentral()
			maven { url = uri("https://jitpack.io") }
		}
	}
Add to pom.xml
	<repositories>
		<repository>
		    <id>jitpack.io</id>
		    <url>https://jitpack.io</url>
		</repository>
	</repositories>
Add it in your build.sbt at the end of resolvers:
resolvers += "jitpack" at "https://jitpack.io"
Add it in your project.clj at the end of repositories:
:repositories [["jitpack" "https://jitpack.io"]]
Step 2. Add the dependency
	dependencies {
		implementation 'com.github.HanSolo:tilesfx:1.6.8'
	}
dependencies {
implementation("com.github.HanSolo:tilesfx:1.6.8")
} <dependency>
<groupId>com.github.HanSolo</groupId>
<artifactId>tilesfx</artifactId>
<version>1.6.8</version>
</dependency>
libraryDependencies += "com.github.HanSolo" % "tilesfx" % "1.6.8"
:dependencies [[com.github.HanSolo/tilesfx "1.6.8"]]
Readme
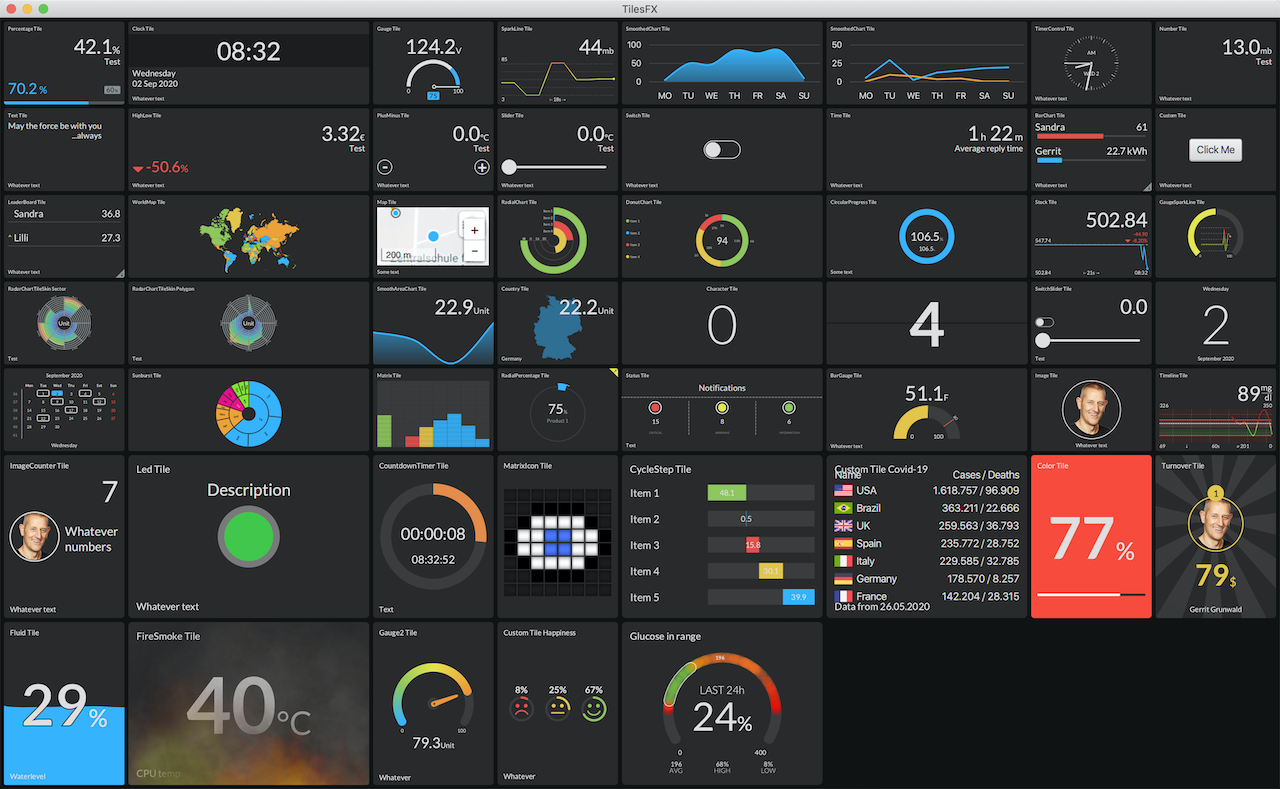
TilesFX
<br> A JavaFX library containing tiles for Dashboards.Donations are welcome at Paypal
Intro
The Tile is a simple JavaFX Control that comes with different skins. To get an idea on how to use the skins with their parameters you could either take a look at the Demo file or check out the TilesFX Demo project which also contains information on how to combine TilesFX with other libraries e.g. Medusa You can also check my blog where you will find additional information about certain tiles.
Demo
To run the demo you simply can start it using the command "./gradlew Demo" on the command line in the project folder.
Overview