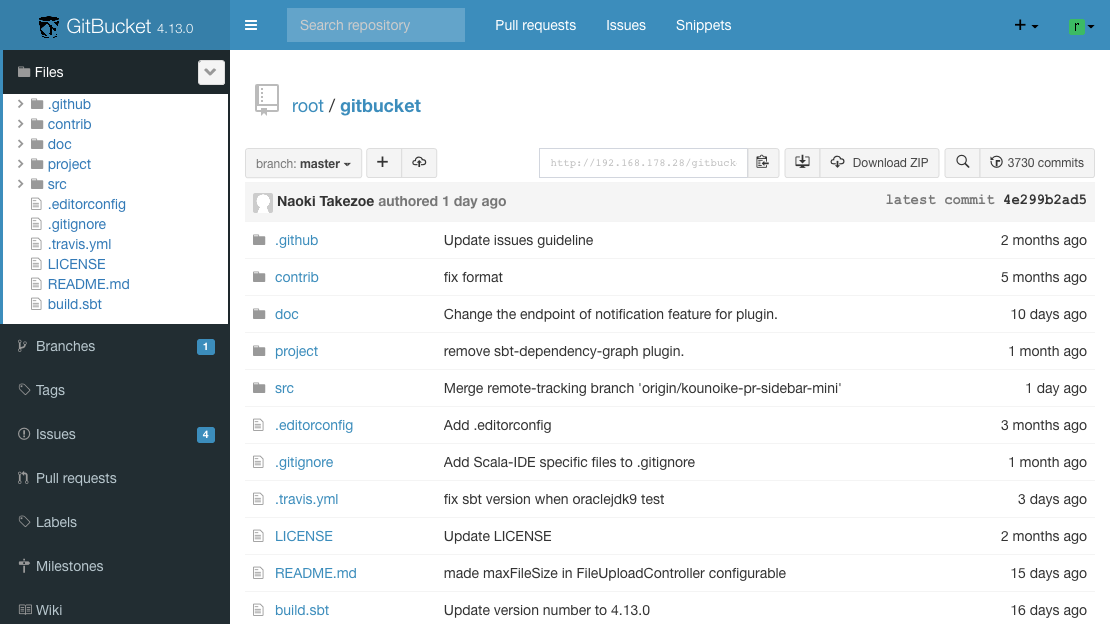
 gitbucket/gitbucket
A Git platform powered by Scala with easy installation, high extensibility & GitHub API compatibility https://gitbucket.github.io/
Download
Step 1. Add the JitPack repository to your build file
Add it in your root settings.gradle at the end of repositories:
	dependencyResolutionManagement {
		repositoriesMode.set(RepositoriesMode.FAIL_ON_PROJECT_REPOS)
		repositories {
			mavenCentral()
			maven { url 'https://jitpack.io' }
		}
	}
Add it in your settings.gradle.kts at the end of repositories:
	dependencyResolutionManagement {
		repositoriesMode.set(RepositoriesMode.FAIL_ON_PROJECT_REPOS)
		repositories {
			mavenCentral()
			maven { url = uri("https://jitpack.io") }
		}
	}
Add to pom.xml
	<repositories>
		<repository>
		    <id>jitpack.io</id>
		    <url>https://jitpack.io</url>
		</repository>
	</repositories>
Add it in your build.sbt at the end of resolvers:
resolvers += "jitpack" at "https://jitpack.io"
Add it in your project.clj at the end of repositories:
:repositories [["jitpack" "https://jitpack.io"]]
Step 2. Add the dependency
	dependencies {
		implementation 'com.github.gitbucket:gitbucket:4.39.0'
	}
dependencies {
implementation("com.github.gitbucket:gitbucket:4.39.0")
} <dependency>
<groupId>com.github.gitbucket</groupId>
<artifactId>gitbucket</artifactId>
<version>4.39.0</version>
</dependency>
libraryDependencies += "com.github.gitbucket" % "gitbucket" % "4.39.0"
:dependencies [[com.github.gitbucket/gitbucket "4.39.0"]]
Readme
GitBucket 


GitBucket is a Git web platform powered by Scala offering:
- Easy installation
- Intuitive UI
- High extensibility by plugins
- API compatibility with GitHub

Features
The current version of GitBucket provides many features such as:
- Public / Private Git repositories (with http/https and ssh access)
- GitLFS support
- Repository viewer including an online file editor
- Issues, Pull Requests and Wiki for repositories
- Activity timeline and email notifications
- Account and group management with LDAP integration
- a Plug-in system
Installation
GitBucket requires Java 17. You have to install it, if it is not already installed.
- Download the latest gitbucket.war from the releases page and run it by
java -jar gitbucket.war. - Go to
http://[hostname]:8080/and log in with ID: root / Pass: root.
You can also deploy gitbucket.war to a servlet container which supports Servlet 3.0 (like Jetty, Tomcat, JBoss, etc). Note that GitBucket doesn't support Jakarta EE yet.
For more information about installation on Mac or Windows Server (with IIS), or configuration of Apache or Nginx and also integration with other tools or services such as Jenkins or Slack, see Wiki.
To upgrade GitBucket, replace gitbucket.war with the new version, after stopping GitBucket. All GitBucket data is stored in HOME/.gitbucket by default. So if you want to back up GitBucket's data, copy this directory to the backup location.
Plugins
GitBucket has a plug-in system that allows extra functionality. Officially the following plug-ins are provided:
You can find more plugins made by the community at GitBucket community plugins.
Building and Development
If you want to try the development version of GitBucket, or want to contribute to the project, please see the Developer's Guide. It provides instructions on building from source and on setting up an IDE for debugging. It also contains documentation of the core concepts used within the project.
Support
- If you have any questions about GitBucket, see Wiki and check issues whether there is a same question or request in the past.
- If you can't find same question and report, send it to our Gitter chat room before raising an issue.
- The highest priority of GitBucket is the ease of installation and API compatibility with GitHub, so your feature request might be rejected if they go against those principles.
What's New in 4.43.x
4.43.0 - 29 Jun 2025
- Upgrade H2 database from 1.x to 2.x
Note that upgrading from h2 1.x to 2.x requires data file migration: https://www.h2database.com/html/migration-to-v2.html
It can't be done automatically using GitBucket's auto migration mechanism because it relies on database itself. So, users who use h2 will have to dump and recreate their database manually with the following steps:
# Export database using the current version of H2
$ curl -O https://repo1.maven.org/maven2/com/h2database/h2/1.4.199/h2-1.4.199.jar
$ java -cp h2-1.4.199.jar org.h2.tools.Script -url "jdbc:h2:~/.gitbucket/data" -user sa -password sa -script dump.sql

# Recreate database using the new version of H2
$ curl -O https://repo1.maven.org/maven2/com/h2database/h2/2.3.232/h2-2.3.232.jar
$ java -cp h2-2.3.232.jar org.h2.tools.RunScript -url "jdbc:h2:~/.gitbucket/data" -user sa -password sa -script dump.sql
In addition, if ~/.gitbucket/database.conf has the following configuration, remove ;MVCC=true from url.
db {
  url = "jdbc:h2:${DatabaseHome};MVCC=true" // => "jdbc:h2:${DatabaseHome}"
  ...
}
See the change log for all the past updates.