Download
Step 1. Add the JitPack repository to your build file
Add it in your root settings.gradle at the end of repositories:
	dependencyResolutionManagement {
		repositoriesMode.set(RepositoriesMode.FAIL_ON_PROJECT_REPOS)
		repositories {
			mavenCentral()
			maven { url 'https://jitpack.io' }
		}
	}
Add it in your settings.gradle.kts at the end of repositories:
	dependencyResolutionManagement {
		repositoriesMode.set(RepositoriesMode.FAIL_ON_PROJECT_REPOS)
		repositories {
			mavenCentral()
			maven { url = uri("https://jitpack.io") }
		}
	}
Add to pom.xml
	<repositories>
		<repository>
		    <id>jitpack.io</id>
		    <url>https://jitpack.io</url>
		</repository>
	</repositories>
Add it in your build.sbt at the end of resolvers:
resolvers += "jitpack" at "https://jitpack.io"
Add it in your project.clj at the end of repositories:
:repositories [["jitpack" "https://jitpack.io"]]
Step 2. Add the dependency
	dependencies {
		implementation 'com.github.onlylemi:mapview:v1.0'
	}
dependencies {
implementation("com.github.onlylemi:mapview:v1.0")
} <dependency>
<groupId>com.github.onlylemi</groupId>
<artifactId>mapview</artifactId>
<version>v1.0</version>
</dependency>
libraryDependencies += "com.github.onlylemi" % "mapview" % "v1.0"
:dependencies [[com.github.onlylemi/mapview "v1.0"]]
Readme
MapView
This a indoor map view named MapView for Android. It also offer some layers. If you are doing a indoor map application and try to do it.
Layers
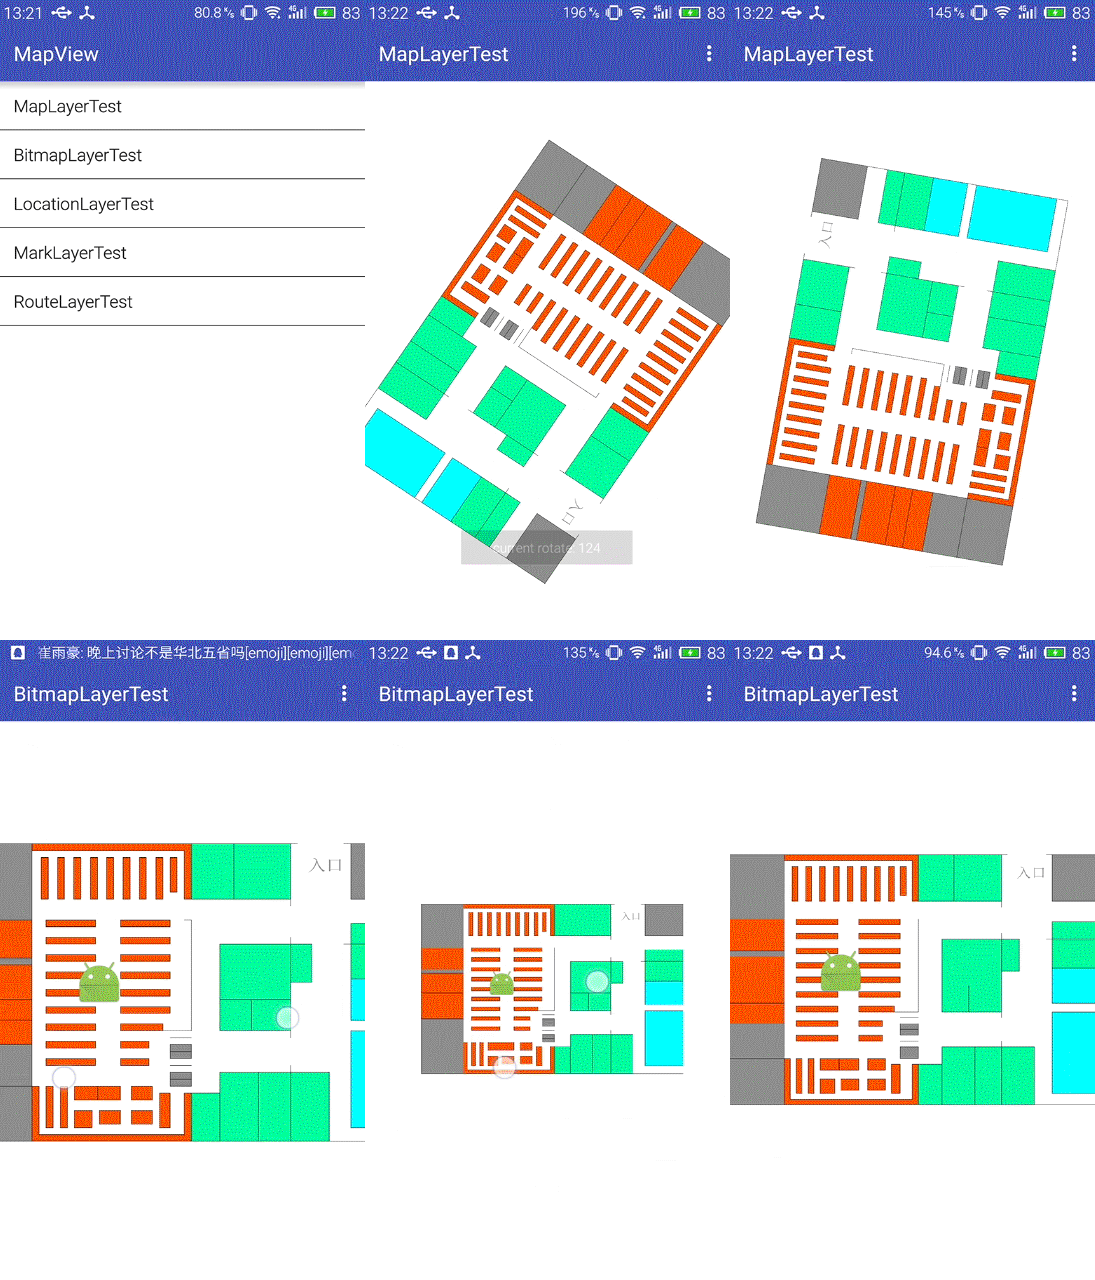
- MapLayer
- rotate
- scale
- slide
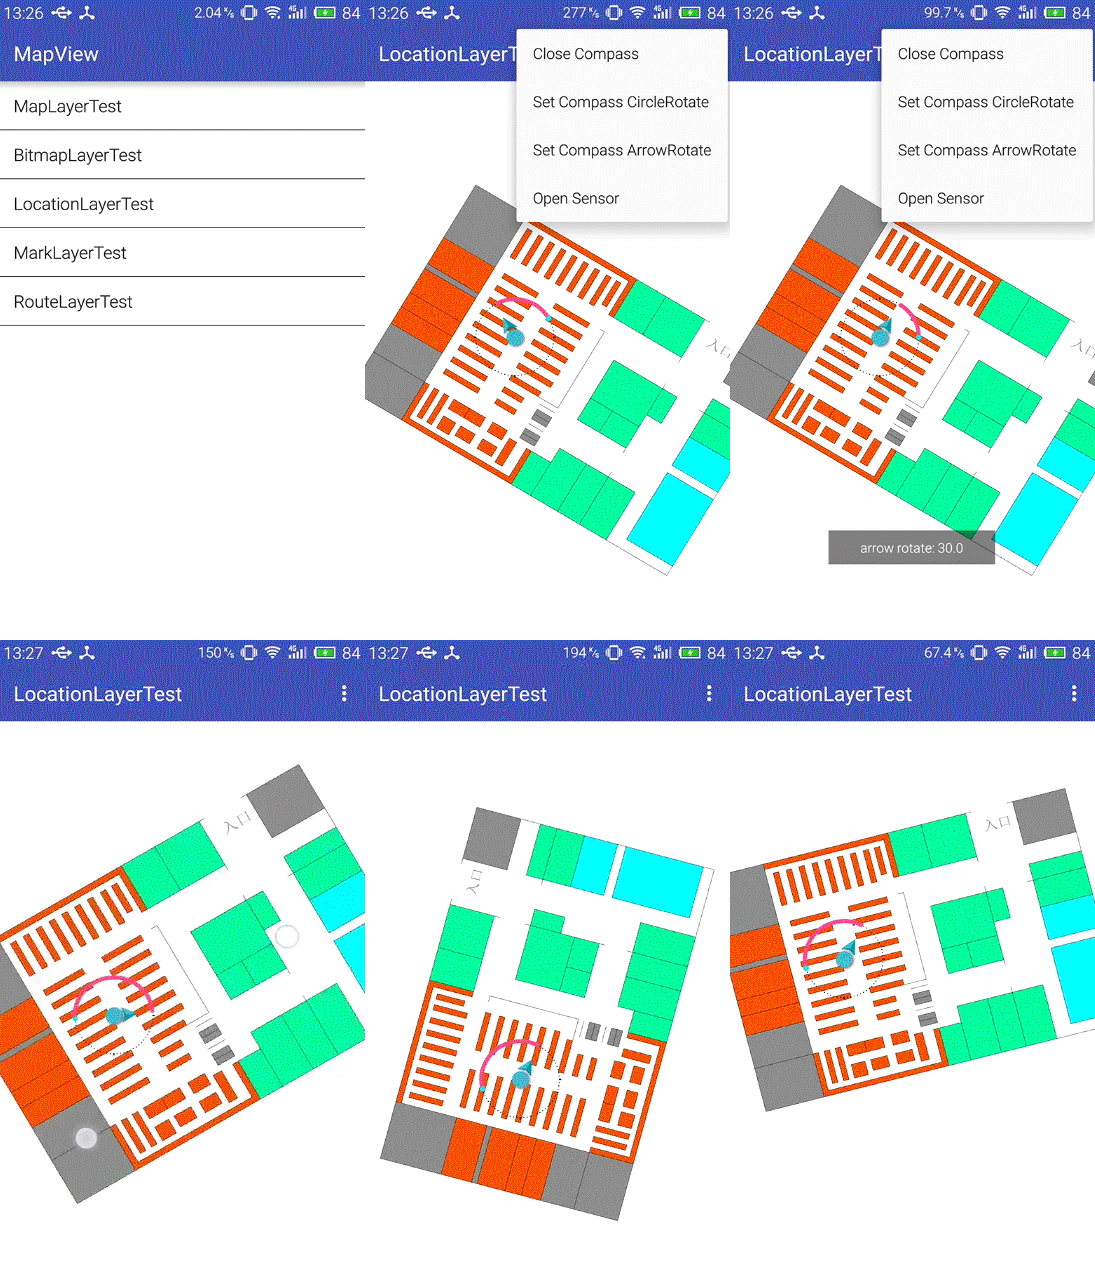
- LocationLayer
- Sensor
- BitmapLayer
- MarkLayer
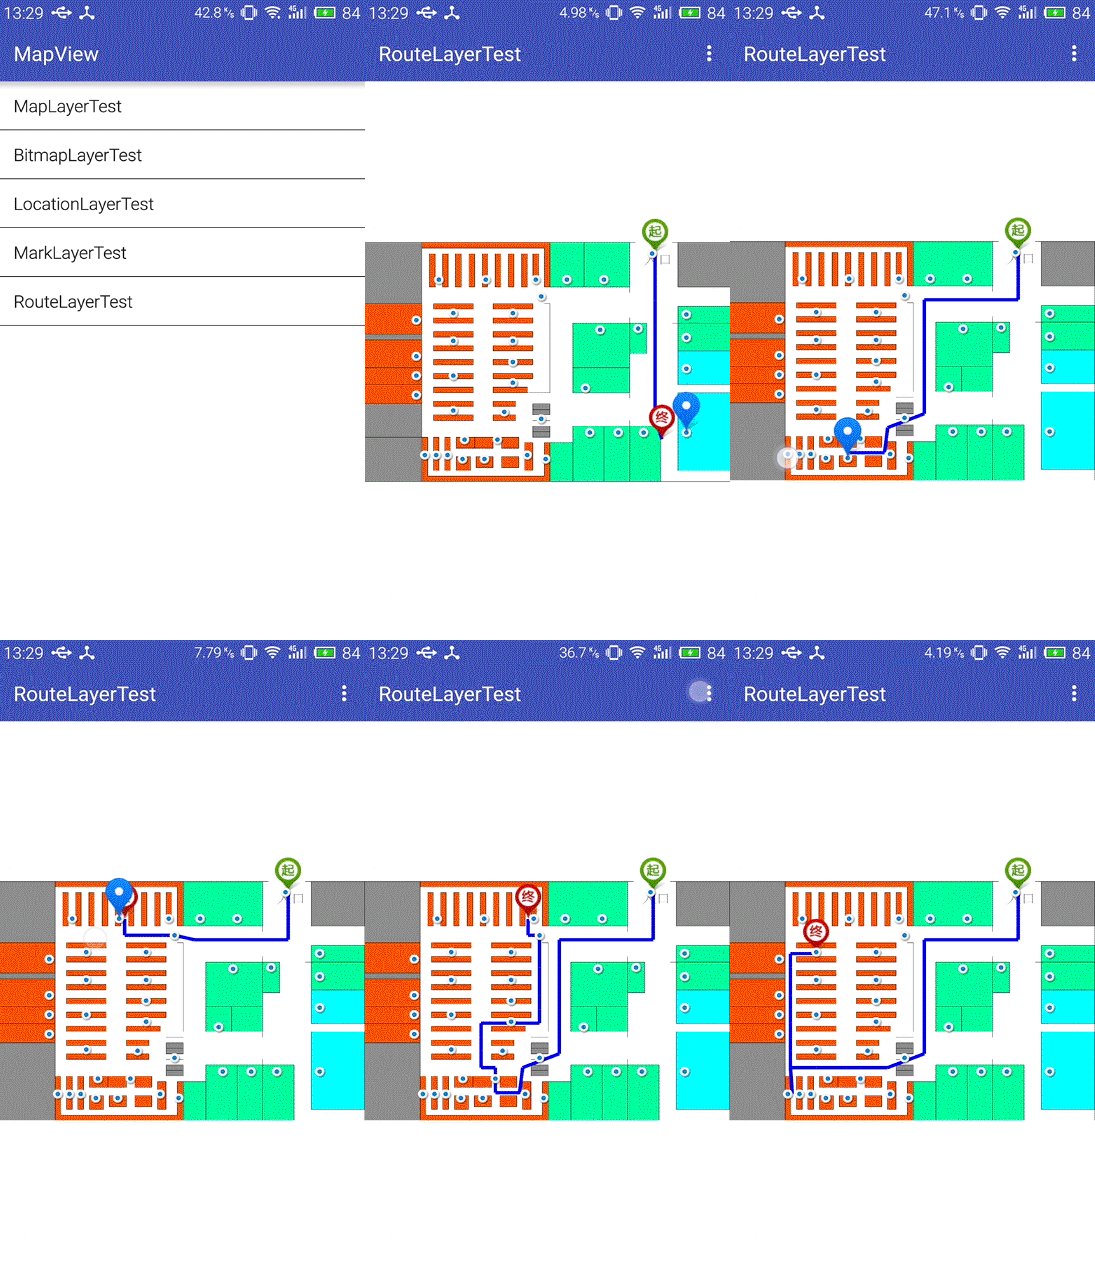
- RouteLayer
- ShortestPath By FloydAlgorithm
- BestPath By GeneticAlgorithm, and you also look here.
Demo
I offer every layer demo and you can look the demo floder. And the following is a screenshot of demo.


Usage
Gradle
allprojects {
repositories {
maven { url "https://jitpack.io" }
}
}
dependencies {
compile 'com.github.onlylemi:mapview:v1.0'
}
Maven
<repositories>
<repository>
<id>jitpack.io</id>
<url>https://jitpack.io</url>
</repository>
</repositories>
	<dependency>
	    <groupId>com.github.onlylemi</groupId>
	    <artifactId>mapview</artifactId>
	    <version>v1.0</version>
	</dependency>
About me
Welcome to pull requests.
If you have any new idea about this project, feel free to contact me. :smiley:


